How do I fix a slow website?

Your website’s speed is important for two main reasons. First, people will leave if they think it’s too slow. Second, Google will penalize your website in the search engine results if they think it’s too slow.
And with the recent Core Web Vitals update that Google started rolling out in June 2021, the importance of your website’s speed as a part of SEO has only increased!
Let’s take a look at some ways you can fix a slow website.
Good hosting is important
First, let’s talk about the importance of hosting as it relates to your website’s speed. We all know when it comes to home computers, generally the less you spend on a computer, the slower your computer ends up being.
Hosting is exactly the same. You can invest anywhere from $10 a year to thousands of dollars a year. That’s a big range! If you’re spending under $100 a year on your hosting, you can assume your website is hosted on a slower computer.
There’s no hard, fast rule on how much you should invest. But in general, I would expect to invest over $100 a year on hosting. Less if you’re going to manage the hosting and website yourself, more if you have professionals manage the hosting and website for you.
Reduce image sizes
Once you’ve established a foundation of good hosting, often the easiest next step is to make sure your images on your website are the smallest size they need to be.
In general, the file size is actually what matters, meaning how many megabytes your image is. But often, how you accomplish that is by controlling the dimensions of the image, meaning how many pixels wide and tall it is.
Here’s the workflow I typically use when I add an image to a page:
- Open the original image in Photoshop.
- Use the “Save for Web” option. Usually, I use the JPEG Medium preset and make sure the width is 1200 pixels or smaller.
- Since that converts all spaces to dashes in the filename, I change the dashes back to spaces.
- Run the image through ImageOptim to strip out any unnecessary metadata.
- Upload the image to the website.
- Insert the smallest version of the image I can get away with while maintaining quality.
On that last step, we usually build websites in WordPress, which means each image we upload ends up saved in a few different sizes. We usually use the following settings in Settings > Media:
- Thumbnail: 300 x 300 (we check the box to crop thumbnails)
- Medium: 600 x 600
- Large: 1200 x 1200
Then if we insert an image that takes up 50% of the width of the page or less, we usually use the Medium size. If we insert a background image that’s full width, we use Large.
WordPress plugins to speed up websites
Speaking of WordPress, we regularly use a few specific plugins when a client wants us to go the extra mile on optimizing WordPress speed. We’ve found the settings that generally work well on our server with each plugin, but we also test the website extensively while configuring each plugin.
Here are the ones we use most often.
Async JavaScript
Without getting too technical, the default way most of WordPress’s themes and plugins loads JavaScript can cause the page to not load until after all JavaScript loads. This plugin changes that so your page loads first, then JavaScript, which is definitely how Google likes it.
Autoptimize
This plugin performs automatic, behind-the-scenes optimizations on JavaScript, CSS, HTML, and even images. There are several settings to fine-tune things, including excluding specific files and even entire folders from the optimization.
WebP Converter for Media
WebP is a modern image format that is often smaller than the exact same image file in other formats like JPG or PNG. This plugin automatically converts files to whichever format is smaller. You can run the conversion first on all files already uploaded in your Media section. Then it will run automatically on images as you upload them.
Increase page speed using .htaccess
Many web hosts have a configuration file named .htaccess in the main website folder, often public_html. If you can’t see it, you may need to go to your File Manager’s settings and check a box that says something like “Show Hidden Files (dotfiles).”
On those websites where we’re going the extra mile, we’ll add some code that provides additional compression to decrease download time, as well as code that makes use of built-in web browser caching.
If your website runs on WordPress, I recommend adding the following code after the WordPress-generated code in your .htaccess file. If you’re not sure what that means, just add this at the end of everything else in the .htaccess file.
# SEO optimization

# Enable GZIP optimization
<IfModule mod_deflate.c>
  # Compress HTML, CSS, JavaScript, Text, XML and fonts
  AddOutputFilterByType DEFLATE application/javascript
  AddOutputFilterByType DEFLATE application/rss+xml
  AddOutputFilterByType DEFLATE application/vnd.ms-fontobject
  AddOutputFilterByType DEFLATE application/x-font
  AddOutputFilterByType DEFLATE application/x-font-opentype
  AddOutputFilterByType DEFLATE application/x-font-otf
  AddOutputFilterByType DEFLATE application/x-font-truetype
  AddOutputFilterByType DEFLATE application/x-font-ttf
  AddOutputFilterByType DEFLATE application/x-javascript
  AddOutputFilterByType DEFLATE application/xhtml+xml
  AddOutputFilterByType DEFLATE application/xml
  AddOutputFilterByType DEFLATE font/opentype
  AddOutputFilterByType DEFLATE font/otf
  AddOutputFilterByType DEFLATE font/ttf
  AddOutputFilterByType DEFLATE image/svg+xml
  AddOutputFilterByType DEFLATE image/x-icon
  AddOutputFilterByType DEFLATE text/css
  AddOutputFilterByType DEFLATE text/html
  AddOutputFilterByType DEFLATE text/javascript
  AddOutputFilterByType DEFLATE text/plain
  AddOutputFilterByType DEFLATE text/xml

  # Remove browser bugs (only needed for ancient browsers)
  BrowserMatch ^Mozilla/4 gzip-only-text/html
  BrowserMatch ^Mozilla/4\.0[678] no-gzip
  BrowserMatch \bMSIE !no-gzip !gzip-only-text/html
  Header append Vary User-Agent
</IfModule>

# Leverage browser caching
#Customize expires cache start - adjust the period according to your needs
<IfModule mod_expires.c>
  FileETag MTime Size
  AddOutputFilterByType DEFLATE text/plain text/html text/xml text/css application/xml application/xhtml+xml application/rss+xml application/javascript application/x-javascript
  ExpiresActive On
  ExpiresByType text/html "access 600 seconds"
  ExpiresByType application/xhtml+xml "access 600 seconds"
  ExpiresByType text/css "access 1 month"
  ExpiresByType text/javascript "access 1 month"
  ExpiresByType text/x-javascript "access 1 month"
  ExpiresByType application/javascript "access 1 month"
  ExpiresByType application/x-javascript "access 1 month"
  ExpiresByType application/x-shockwave-flash "access 1 month"
  ExpiresByType application/pdf "access 1 month"
  ExpiresByType image/x-icon "access 1 year"
  ExpiresByType image/jpg "access 1 year"
  ExpiresByType image/jpeg "access 1 year"
  ExpiresByType image/png "access 1 year"
  ExpiresByType image/gif "access 1 year"
  ExpiresDefault "access 1 month"

</IfModule>
#Expires cache end

# END SEO Optimization
Check with PageSpeed Insights
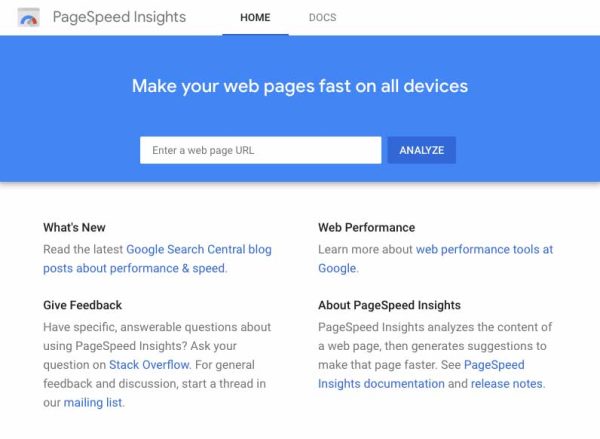
Finally, you can check for additional optimization opportunities by diving into the technical results of Google’s PageSpeed Insights.
Start by evaluating your home page and increase its score for both the mobile and desktop versions. If your site is relatively small or you have plenty of time, you can run every single page through PageSpeed Insights, fixing them one at a time.
For larger sites, use Google Analytics to determine which pages get the most traffic, then work your way down that list.
Of course, if you’re looking for professional help, one of many services we offer is technical SEO, which includes optimizing your website’s speed. If you’re not happy with how long your website takes to load, we’d be happy to talk and see if we can help.