If you want to make it easy for people to do business with you, you must make it easy to find you online. SEO—Search Engine Optimization—is a huge part of that.
SEO is all about how and where you show up in search engines. And Google is, by far, the most popular search engine out there. So in general, you should focus on showing up better in Google.
But if you’re just starting out, SEO can feel overwhelming! What should you do first? What are some of the quickest wins?
Let’s look at a healthy strategy for SEO. Then we’ll look at 12 tools and tactics you can use to help improve your SEO.
Approach to SEO strategy

In general, working on your SEO is a long-term strategy, not a short-term strategy. If you’re looking for something that has immediate results, I recommend Google Ads. If you’re looking to play the long game, SEO can be a great strategy.
I like to compare SEO efforts to eating healthy or dieting to become healthier. You might have some early wins, but in general, it’s going to take time to see results. If you’re losing weight or gaining muscle too fast, that’s actually a bad sign!
Similarly, SEO efforts take time. As an example, if your organization has a target market that’s in the same geographic region you are in, a good rule of thumb is to count on six months before you really start seeing results. You may have some early wins, but six months is a safe bet. In fact, if you see results too quickly, you may be using techniques referred to as “black hat.” That’s a bad thing! Black hat tactics can get your domain blacklisted from Google.
SEO tools & tactics for your website
Okay, let’s start with some tools and tactics you can use on your website. As always, we prefer WordPress websites, so some of these tips will be geared toward WordPress.
1. Start blogging regularly
If you don’t do anything else on this list, start blogging regularly. I’ll give some more guidance on finding your topics using Google here in a bit, but blog about things you want to be found for. Write at least 300 words per article, and while blogging monthly can sometimes get results, twice a month or weekly is a better bet. In some highly competitive industries, you may need to blog even more often.
2. Install an SEO plugin

While WordPress itself is set up fairly well from an SEO standpoint, that can vary based on what theme and plugins you install. Be sure to install a general SEO plugin to really optimize your technical SEO.
Here are several general SEO plugins with a good reputation:
That last one is my favorite because it’s lightweight, easy to set up, and unobtrusive on an ongoing basis.
3. Optimize your images
While big images can be gorgeous, they slow down your website. You have to strike a balance between good-looking images and small image files.
Here are some rules of thumb to consider:
- 99% of the time, keeping the maximum width and height to 1200px will result in a good-looking image that’s a reasonable size.
- Reduce your images with lossless compression. I won’t get into the details of what that means, other than to say your image quality won’t suffer. You can use an application like ImageOptim to do that before uploading to WordPress (my preference) or a plugin like Smush to do it afterward.
- When inserting your image in WordPress, be sure to use the optimal size for the image. If your website is 1200px wide, and your image needs to take up half the width, don’t insert the 1200px wide version. See if the large or medium size is around 600px, then use that instead.
4. Install a plugin to take care of 404 errors

A 404 error is when someone tries to find a file and it’s not there. That can be an image, a page, or any other number of file types. It may be that you moved the file, or it may have never been there in the first place.
If Google looks for something on your website and gets a 404 error, that’s not good. One way to mitigate that issue is to use a plugin that tracks 404 errors and lets you redirect them to the appropriate place. We’ve used the Redirection plugin for several years now and love it.
5. Make sure your URLs are set up well
A URL is the address of an individual file or page on your website. In the case of pages, Google likes them to be short and human-readable. In other words, Google wouldn’t like the following:
- example.com/?article_id=123456
- example.com/123456
- example.com/the-worst-seo-mistakes-you-could-possibly-make
Google would prefer this one:
It’s okay if you include the year and month in that URL as well.
In WordPress, this is pretty simple to change. In the backend, go to Settings > Permalinks. Then you should choose either Month and name (my preferred option) or just Post name.
6. Get better hosting
If you’re only paying a couple of dollars a month for hosting, that will most likely result in a slow website and maybe even a website that sometimes shows Google error messages. That’s not a good thing!
There’s no hard and rule on how much hosting should cost. But if you’re paying less than $50 a year for hosting, chances are your hosting stinks. If you’re paying $50 or more a month, there’s a decent chance you’ll be fine.
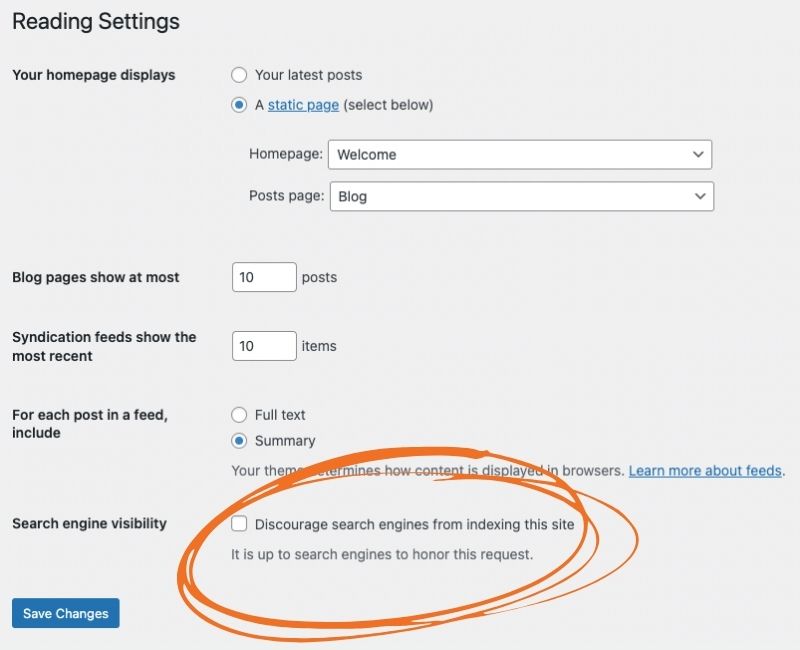
7. Make sure you’re not discouraging search engines
I’ve seen this done accidentally on multiple websites in my years in digital marketing. Fortunately, if you have WordPress, it’s very easy to check and fix.
On the backend, go to Settings > Reading. Then scroll down to the bottom and look for “Search engine visibility.” Make sure that the box next to that, “Discourage search engines from indexing this site,” is NOT checked.
If that’s checked, you won’t even show up in Google. Again, not a good thing!
SEO tools & tactics through Google
Now that we have a good start with your website, let’s look at how you can use tools provided by Google to improve what you’re doing there.
8. Get Google Analytics
Google Analytics is a great free tool provided by Google that shows activity on your website. We’ve previously talked about 20 questions Google Analytics can answer for you, but here are a few data points that you can discover about your website once you have the tool set up:
- Number of users on your website
- Where those users are from geographically
- How many of those users came from search versus social media versus other methods
- Whether those users were on a computer, tablet, or mobile device
- What pages those users visited
Google Analytics can’t start gathering data until you’ve added it to your website, so the sooner you can do that, the better. I advise setting up a Universal Analytics (UA) property, NOT a Google Analytics 4 property. A UA property takes a lot less work to set up.
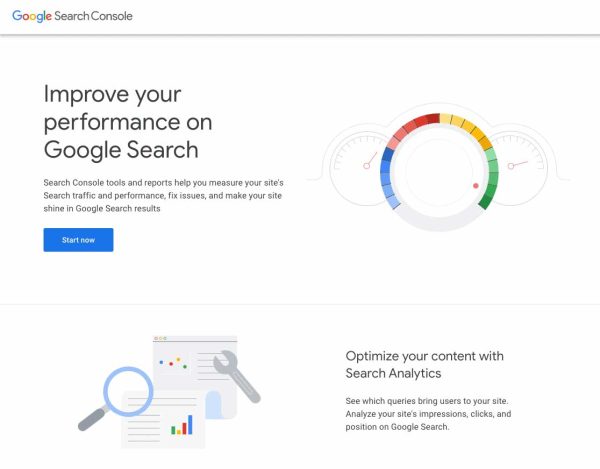
9. Get Google Search Console
Google Search Console is another great free tool provided by Google. It differs from Google Analytics in that it focuses on how your website shows up in Google’s Search Engine Results Pages, or SERPs. Once you have the tool set up, you can discover:
- How many clicks your website received on Google
- The total number of impressions
- Your average position in the results
- A specific page’s average position in the results
- The search words and phrases (queries) you showed up for
- The number of clicks and impressions for each query you showed up for
Unlike Google Analytics, once you set up Google Search Console, it can actually show you data from before you had it set up. However, while Google Analytics will have data for the whole time you’ve had it set up, in my tests, Google Search Console seemed to retain about 16 months of data.
10. Research blog topics
I’ve shared a whole system for optimizing your blog posts for SEO before. But if you’re just looking to pick blog topics based on SEO research, here’s the quick and dirty way:
- Search Google for a service or product you sell. Keep it short and sweet.
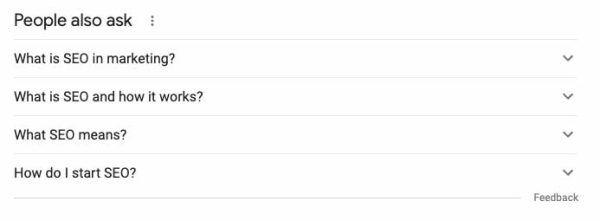
- About halfway down the results, you’ll likely see a section called, “People also ask.” If any of those pique your interest, click on the question to expand it, and Google will add more related questions to the bottom of that list.
- Also look at the bottom of the page at the section with related searches.
Any of those questions or related searches are fair game for blog articles on your website, and you already know people are searching for them.
11. Use PageSpeed Insights
As I’ve mentioned, how quickly your page loads directly affects where and how you show up in Google. And with the soon-to-be-added Core Web Vitals, that’s only increasing in importance.
Enter Google’s PageSpeed Insights. This tool will let you enter your website’s URL, analyzes the content, and gives you suggestions to make it faster on both mobile and desktop. Some suggestions are more technical than others. But sometimes Google even recommends a specific WordPress plugin to help!
Of course, be sure to back up your website before making any of the changes that PageSpeed Insights recommends. In fact, I recommend backing it up and checking the front end of the website before and after each change.
12. Set up Google My Business
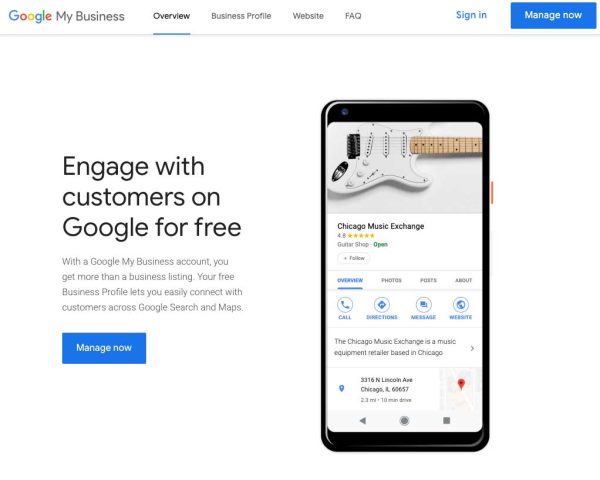
Finally, a huge part of Google’s results is the map results. And to optimize your Google Maps listing, you need to use Google My Business.
If you haven’t already, you’ll first need to claim or add your business. Once you’ve done that, start filling your information out. The more information you can fill out, the better! Then be sure to keep the information on there up to date.
If you ever move or change phone numbers, be sure to change them in Google. That way, your information will be accurate, and you’ll always have access to your listing.
Want to go the extra mile with Google My Business? Add your business to other online directories out there, making sure that the Name, Address, and Phone Number (NAP) match exactly. That will help people find you, and it can actually improve your Google Maps ranking as well.
Hopefully, those 12 tools and tactics are enough to get you started. Not surprisingly, these are all services we offer. So if you decide you need professional help with any of them, we would be happy to talk!


