12 awesome things you can do with Gravity Forms

As you probably already know, we are big fans of WordPress. One reason, in particular, is that it offers a bazillion awesome plugins to make the website-creation experience better and easier.
You can get really creative when creating websites. If you ever need to include a contact form, survey, employment application, review form, or something else along those lines, we recommend using Gravity Forms.
What is Gravity Forms?
Gravity Forms is a premium plugin that WordPress offers, and it allows you to create different types of forms to implement into your website. These forms collect the data you need to accomplish your goal, and it’s an easy way for clients or customers to connect with businesses.
Benefits of Gravity Forms
We didn’t title this blog, “12 awesome things you can do with Gravity Forms” for no reason. It has tons of benefits, but here are 12!
- Has an easy drag and drop builder
- Integrates with newsletter service providers like Mailchimp and Constant Contact
- Has over 30 form fields type
- Is versatile as far as form creation goes
- Makes it easy for others to contact you
- Collects metadata on form submission
- Makes uploading files quick and simple for visitors
- Lets you make new forms in a flash
- Sends you notification emails with routing options
- Has dozens of add-ons available
- 11.Has ecommerce capabilities
- 12.Provides spam protection options
Whether you want a simple or complex form, Gravity Forms is a quick and simple tool to use once you learn how it works. So, how does it work?
How to use Gravity Forms
Now that you have an idea of what you can do with Gravity Forms and its benefits, it’s time to learn how to use it! While this information may feel overwhelming, just know that it’s necessary and will make the creation process much simpler.
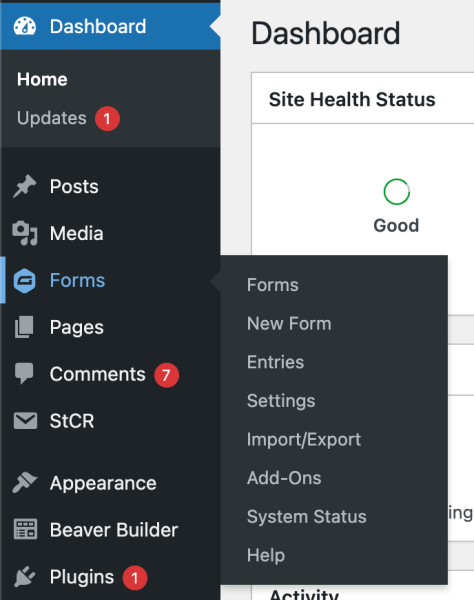
Start by creating your form:
- Select the forms option on the left-hand side.
- Click the Add New button.
- Fill out the form name and description.
- Click Create Form.
When adding fields to a form, you will have four form field types:
- Standard: includes general fields such as single line text, paragraph text, number, drop down, and more
- Advanced: helpful for specific cases such as name, date, email, phone, file upload, address, username, and more
- Post: used to turn form submissions into WordPress posts and includes post title, body, tags, image, and more
- Pricing: lets you create product order forms and includes product, quantity, shipping, total, and more. You can also integrate payment options such as PayPal.
If you have add-ons installed, other field types may be available.
To add any field to your form, you have to drag it from the right-hand panel and drop it onto your form on the left. Ready to customize your form fields?
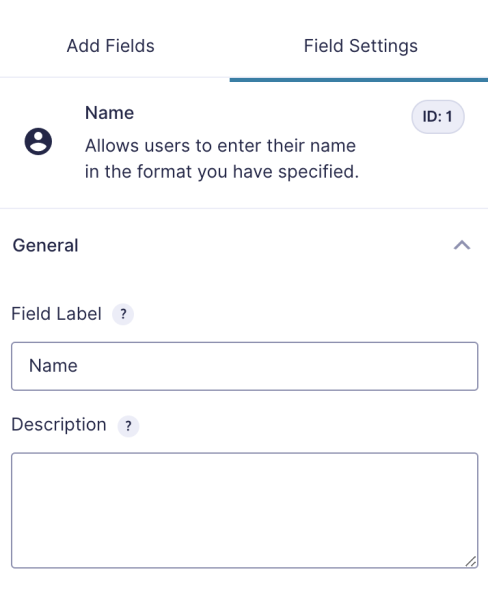
Each field in Gravity Forms has its own setting options, which allow you to customize appearance and function.
To bring up the settings, click on the field on your form or hover over the field until you see the setting icon appear above it.
Under field settings, you have four groups of options:
- General: includes basic options such as add description, mark field as required, and change label text
- Appearance: allows you to alter the look on the front-end
- Advanced: allows you to add admin labels, set default values, and change visibility
- Conditional Logic: allows you to show or hide fields as well as creating “rules” for particular fields
Again, some add-ons may create additional options.
Gravity Form notifications and confirmations
The form submissions have to go somewhere, right? Gravity Forms lets you create email notifications to admins users, whoever filled out the form, or anyone else when there is a new submission. To do this, hover over your form and click on settings. Then, select the notifications option and “add new.”
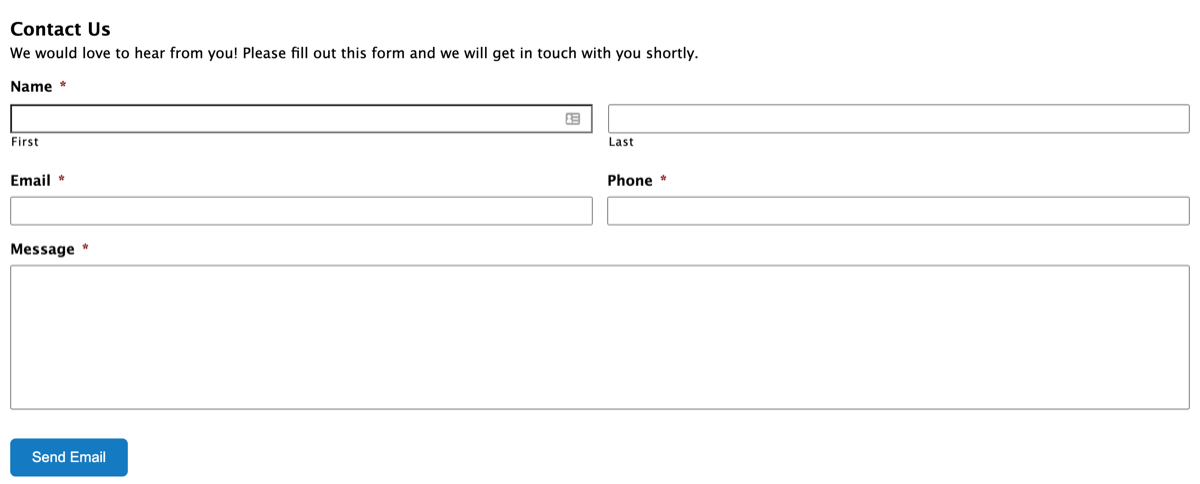
Notifications and confirmations are two different things. Confirmations allow you to display a message to users after they submit the form. You can also redirect them to a separate page on your website or use a custom URL.
To set up confirmations, hover over the form, click settings, and select the confirmations option. This is where you can also customize your confirmation field to say whatever you want.
For example: Thank you for contacting us! We will be in touch with you shortly.
Embedding Gravity Forms with Beaver Builder
Beaver Builder is a popular WordPress page builder that we’re big fans of. It uses a drag and drop editor to create simple or complex website layouts. Among many other things, it allows you to embed Gravity Forms on your website’s page easily.
Beaver Builder allows you to integrate Gravity Forms by inserting the appropriate widget. To do this, edit your website page, click the plus icon, change Group to WordPress Widgets, then drag and drop a “Form” module into your layout.
Next, change the title and select the form you want to insert from the drop-down. Check the appropriate boxes if you want the title or description to appear. Additional options are available by clicking the words “Advanced Options.”
There is honestly so much more that you can do with Gravity Forms. These are just the basics to help you get started. As the saying goes, “Practice makes perfect.”
Don’t want to deal with your own website at all? Well, that’s what we are here for! If you need help with building and designing your website or Gravity Forms specifically, don’t hesitate to reach out to us. We’d love to discuss.